Device installation
In this section, you will find installation instructions for the two key components of the system: the CoolSens CloudHub hub and the optional CoolSens Node temperature and humidity sensors.
CoolSens CloudHub
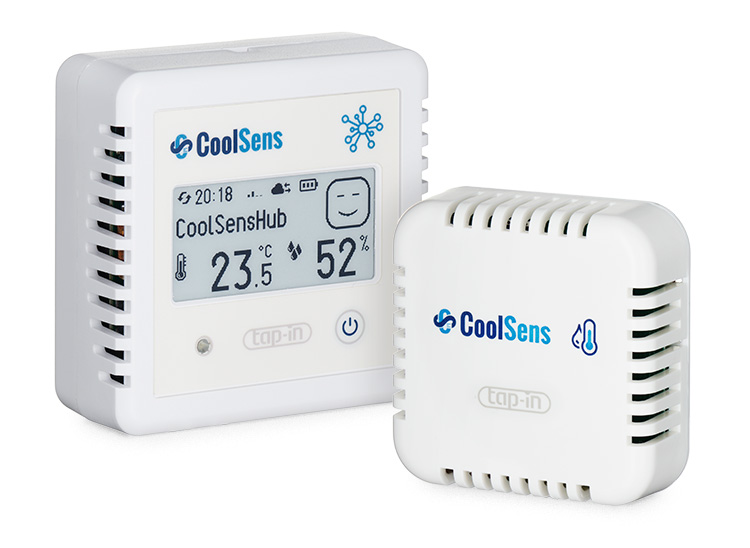
The CoolSens CloudHub is the heart of the CoolSens system, providing environmental condition measurements, data collection, and transmission to the cloud.
Contents of the box
- CoolSens CloudHub
- Battery Pack (2x FANSO ER14505M/S, AA, 3.6V, installed in the device)
- Velcro Mounting Tabe
- Information Card, Sticker with Activation Code
Installation and Startup
Step 1: Preparing the CloudHub
- Remove the battery protective strips:
Open the battery compartment cover on the back of the hub.
Gently pull on the protective strips to remove them.
Close the cover, ensuring it is securely fastened.
- Start your device:
- The hub will turn on automatically without any additional actions from the user.
- A welcome screen with the CoolSens logo will be displayed, and the LED will start blinking, indicating that the device is starting up. After several seconds, the display will show the measured temperature and humidity values, and the LED will stop blinking – the device is now on and ready for operation.
Step 2: Installing the hub
- Select and prepare the mounting location:
Choose a mounting location for the CloudHub that ensures free airflow, avoiding areas with direct sunlight, heaters, or air conditioners, which can affect measurement accuracy.
If possible, select a central location relative to other sensors (if any are present in the location) to ensure the best radio signal range.
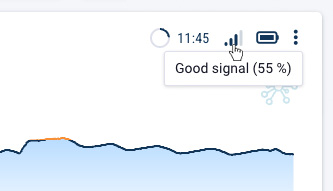
Since the device communicates with the CoolSens platform via the LTE network, it is important to choose a location with a good GSM signal.
- Attach the Velcro strips:
Remove the protective layers from the Velcro strips provided in the kit.
Attach one part of the Velcro strips to the back of the hub.
Attach the other part of the Velcro strips to the selected mounting location on the wall or another surface. Ensure that the mounting surface is clean and dry beforehand.
Mount the CloudHub:
Press the CloudHub firmly against the surface to ensure the Velcro strips bond well.
Ensure that the device is securely and stably attached.
Step 3: CloudHub Configuration
- Log in to the system:
- If you don’t have a CoolSens account yet, create one at https://cloud.coolsens.eu. For more information, see the Registration section.
- Log in to your account on the CoolSens platform using a web browser or the mobile app. For more information, see the Login section.
- Configure parameters:
- If the CloudHub (its serial number and code) was used to create the account, it is already registered in the system and you do not need to re-enter it; proceed to the next step. If not, add a new device (more information can be found here).
- In the CoolSens app, open the details window of the device you want to configure and enter configuration mode (learn more here).
- Select the device’s name, add an additional description and location, configure alarm thresholds, and set additional parameters.
- Click SAVE to save the changes to the server.
- Send configuration to the device:
- Click the Configuration button visible at the top of the application window, then select Send Configuration (learn more here).
- Wait for the CloudHub to connect to the system. The process of sending and saving the new configuration to the device will occur, confirmed by an appropriate message.
CoolSens Node
CloudSens Node is an optional temperature and humidity sensor that works with the CloudHub. Sensors placed in various locations provide additional measurement data. This data is wirelessly transmitted to the hub.
Although the sensors themselves do not send data directly to the CoolSens platform, their cooperation with the CloudHub allows for the monitoring of atmospheric conditions across a wider range and in more locations.
Contents of the box
- CoolSens Node Sensor
- CR2477 Coin Battery (installed in the device)
- Mounting Velcro (attached to the device)
- Information Card, Sticker with Activation Code
Installation and Startup
Step 1: Preparing the CoolSens Node
- Remove the battery protective strips:
- Pull the battery protective strip to remove it.
- Press both halves of the casing together to close it securely.
- Start your device:
- The Node sensor will turn on automatically without any additional actions from the user.
Step 2: Sensor Installation
- Select and prepare the mounting location:
- Select a mounting location for the sensor that ensures free airflow, avoiding areas with direct sunlight, heaters, or air conditioners, which can affect measurement accuracy.
- Since the device communicates with the CoolSens platform via the CloudHub, it is important to choose a location that is not too far from the hub.
- If possible, choose a location at a height of about 1.5-2 meters above the floor, which usually provides the best signal performance.
- If you want to mount the sensor inside a refrigerator or freezer, remember that metal walls and insulation can significantly reduce the range of the radio signal. In such cases, it is recommended to place the sensor as close to the refrigerator door as possible and ensure that the hub is nearby to minimize signal interference.
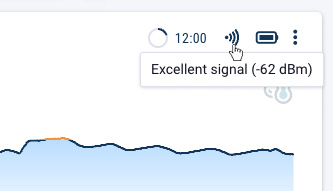
- Before mounting the device, ensure that the chosen location provides adequate radio signal strength for seamless communication with the CloudHub.
- Attach the Velcro strips:
Detach one part of the Velcro strips that are attached to the sensor’s casing.
Remove the protective layer from the Velcro strips.
Attach the Velcro to the selected mounting location on the wall or another surface. Ensure that the mounting surface is clean and dry beforehand.
Mount the sensor:
Press the Node sensor firmly against the surface to ensure the Velcro strips bond well.
Make sure the device is securely and stably attached.
Step 3: Node sensor configuration
- Log in to the system:
- If you don’t have a CoolSens account yet, create one at https://cloud.coolsens.eu. For more information, see the Registration section.
- Log in to your account on the CoolSens platform using a web browser or the mobile app. For more information, see the Login section.
- Configure parameters:
- If the serial number and activation code were used to create the account, you do not need to add the Node sensor again; proceed to the next step. If not, add a new device (more information can be found here).
- In the CoolSens app, view the details of the device you want to configure and enter configuration mode (learn more here).
- Select the device’s name, add an additional description and location, configure alarm thresholds, and optionally change the hub the sensor is associated with.
- Click SAVE to save the changes to the server.
- Send configuration to the device:
- Click the Configuration button visible at the top of the application window, then select Send Configuration (learn more here).
- Wait for the CloudHub to connect to the system. The process of sending and saving the new configuration to the device will occur, confirmed by an appropriate message.