Deactivating a sensor can be useful in situations such as when a refrigerator housing the sensor needs to be turned off for some time. In such cases, you may not want data, especially alarm signals, to be transmitted from the sensor.
You can temporarily block data transmission from the selected sensor.
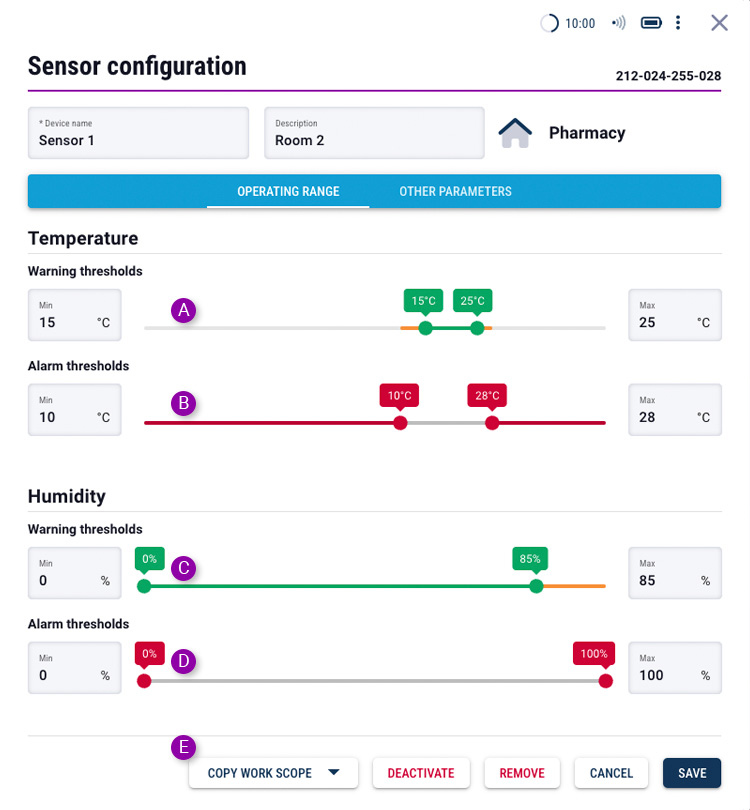
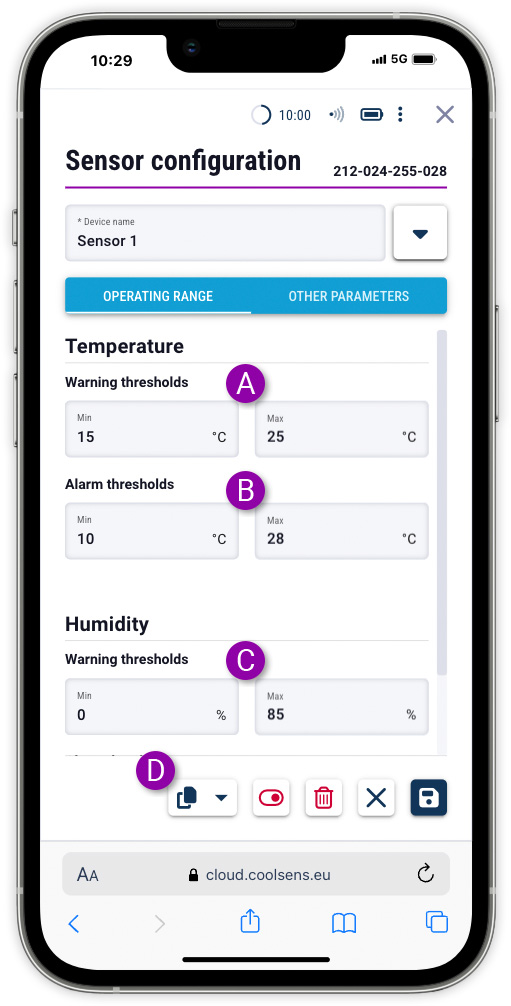
![]() To block data transmission from the sensor, in the device configuration mode, select the deactivate command.
To block data transmission from the sensor, in the device configuration mode, select the deactivate command.
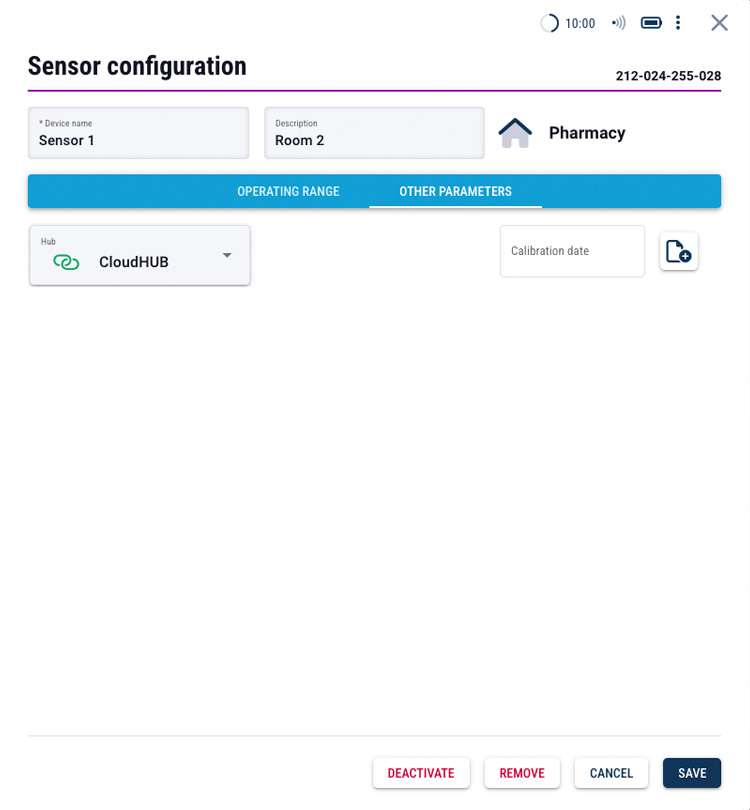
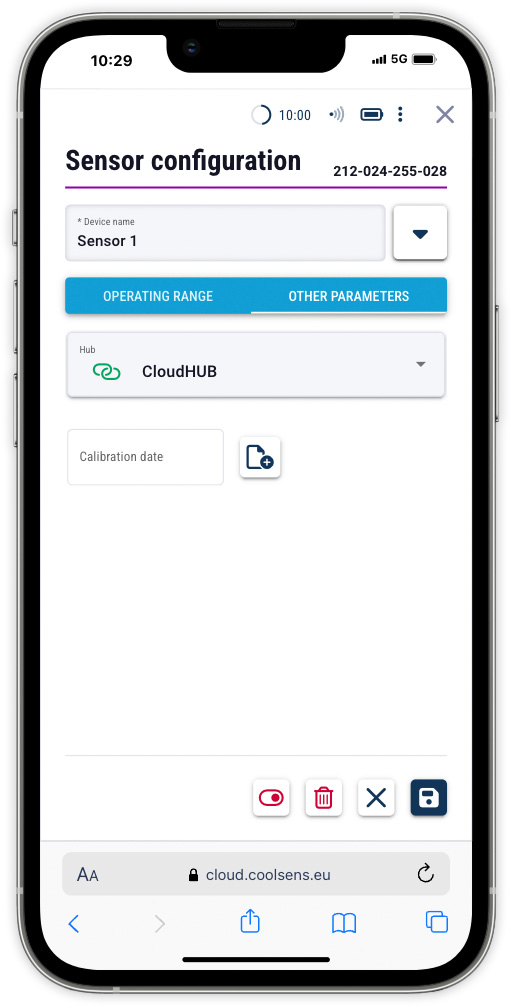
![]() To re-enable data transmission from the sensor, click the activate button.
To re-enable data transmission from the sensor, click the activate button.
![]() To remove the sensor from the account, in the sensor configuration mode, click the remove button.
To remove the sensor from the account, in the sensor configuration mode, click the remove button.
Any changes made by the User in the system are first saved on the server before being saved on the device.
 After clicking the save button in the device configuration form, a Configuration button will appear at the top of the window, indicating that changes have been made to the system settings and need to be sent and saved on the devices.