Users
User List
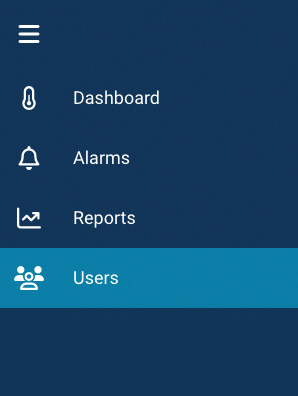
The list of users is available from the main application menu (USERS command) visible only to users with Administrator privileges.
The Users table contains information such as:
- Username used to identify and log in the user;
- First name and Last name of the User;
- E-mail address used to send notifications and reports from the application;
- Role: Permissions specific to a given user;
- Locations to which the user has permissions (and therefore the devices assigned to them);
- Last login: date of the last login to the account (it does not mean the last activity of the User on the account).
User Details
Adding a User
- Go to the Users list by selecting USERS from the main menu.
- In the lower right corner of the screen, click the button for adding Users:

- Go to the Users list by selecting USERS from the main menu.
- In the upper left corner of the screen, click the button for adding Users:

- Enter the new user’s details, such as Username, First name, Last name, Email address, Phone number.
- Assign appropriate permissions to the new user by selecting the appropriate Role (more information about roles can be found below).
- For the Manager and User role, assign the locations that the user will have access to. Devices are associated with the locations, so make sure you assign the correct locations.
- Finally, click the ADD button to create an account for the new User.
A welcome message will be sent to the new User’s email address, containing information necessary to log in to the application.
Deleting a User Account
To delete a User account, follow these steps:
- Go to the User list by selecting USERS from the main menu.
- View the User details by selecting them from the User list. You can use the User search.
- Click the EDIT button.
- In the User edit form, click the REMOVE button.
- Confirm that you want to delete the User account by clicking the OK button.
Roles
The CoolSens system allows assigning different roles to users, defining their permissions and the range of available functions. There are three role levels in the system: Administrator, Manager, and User.
- Administrator has access to all system functionalities. The person who creates an organization account automatically becomes its Administrator.
- Manager has similar permissions to the Administrator, with the difference that they operate within the Locations assigned to them by the Administrator. However, he does not have permission to manage Users and locations.
- User has access to the data collected and presented by the system but cannot edit (except for their own information), delete, or add new data.
Each role in the CoolSens system has a clearly defined scope of permissions, which allows for effective user management and data security. The table below summarizes the permissions of each role.
| Administrator | Manager | User | |
|---|---|---|---|
Desktop - current and historical data preview | __ | __ | |
View detailed sensor data | __ | __ | |
Alarm Viewer, Adding Comments | __ | __ | |
Marking individual alarms as service actions | __ | __ | |
Marking multiple alarms as service actions simultaneously | __ | ||
Device Management - Adding and Configuring | __ | ||
User Management - adding and editing | |||
Location Management | |||
Create reports on demand | __ | __ | |
Creating and editing recurring reports | __ | ||
SMS notification history overview | __ | ||
SMS notification configuration overview | |||
Changing the configuration of SMS notifications | |||
Order history and purchase of SMS packages |
(*) W ramach przydzielonych mu lokalizacji